- Home
- Chimney Guide
- Chimney Damper Repair
Chimney Damper Repair
This post may contain affiliate links so I earn a commission.
The most common chimney damper repair occurs with old cast iron or steel throat dampers which were installed when the chimney was originally constructed.
After years of constant exposure to heat, ashes and moisture, many fireplace dampers will become stuck, warped or inefficient.
Traditionally, there are two different types of fireplace dampers.
A throat damper, which is the most common, is located just above the firebox inside of the chimney flue.
It basically looks like a metal flap that opens and closes by pulling or pushing a lever near the damper.
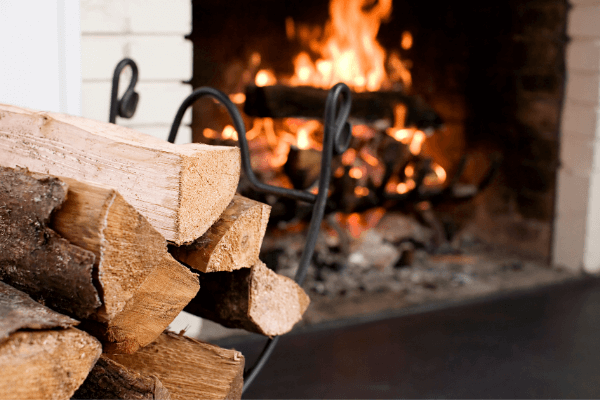
Occasionally they're operated by turning a knob which rotates a worm gear to open or close the damper.
The second type of damper is a top mount, or top sealing damper located at the top of the chimney.
A stainless steel cable runs down the chimney into the opening of the fireplace allowing you to pull on the cable which opens or closes the damper.
Repairing A Throat Damper
If you don't have a cap on your chimney, rain and moisture can enter the chimney flue causing the damper to rust.
Think of your chimney as a tube and the damper is a flap inside the tube which closes off the chimney.
Over time the metal damper will either warp or become covered with rust, creosote and ashes which prevent the damper from closing tight and creating a good seal.
If your damper doesn't close tight, you will be loosing valuable heat from your house through your chimney.
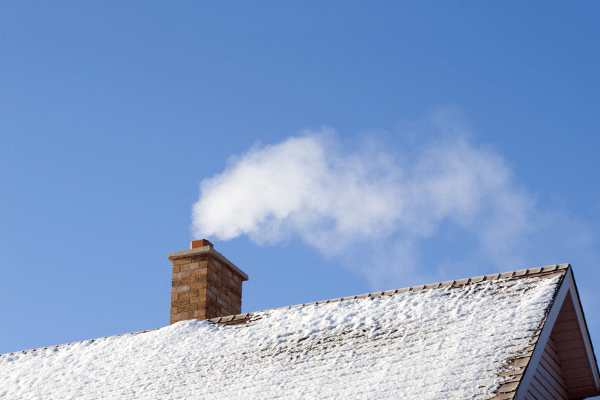
To prevent heat loss it's important to make sure the throat damper is clean from debris and creates the tightest seal possible.
Keep in mind that cast iron or steel throat dampers are notoriously inefficient.
Since it's just a piece of metal closing on itself it won't create an air tight seal, however, a clean damper will be much more efficient than a dirty one.
Chimney damper repair is a dirty job so before you begin put on a pair of safety glasses, gloves, a hat and some old clothes to keep you protected from falling debris.
Step 1 - Cleaning Out The Fireplace:
Clean out the entire fireplace before you begin. Remove all ashes from the firebox and remove the fireplace grate if you have one.
Step 2 - Cleaning The Damper
Take a steel brush or a handheld whisk broom and clean the damper and the area around it.
This typically requires laying on your back inside of the fireplace which is not comfortable.
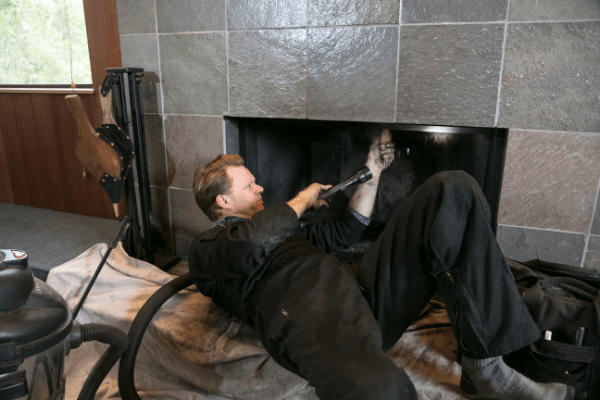
If the damper is stuck, take a penetrating oil like WD-40 and spray the handle and the hinge where it connects to the damper plate.
A lot of times the damper handle is rusted open or closed.
Allow the oil to stand for a few minutes and then gently tap the plate and the handle with a hammer or similar object.
Typically, this will free the rusted plate.
Once you're able to open the damper, remove any debris that has fallen on top of the damper.
Creosote deposits, mortar and other items can become lodged on top of the plate preventing it from opening and closing freely.
Step 3 - Removing The Damper - Chimney Damper Repair
If your damper is bent or cracked it may be necessary to remove the old damper and replace it with a new one.
The damper plate is usually attached with a few bolts that can be removed.
Once the bolts are removed you can remove the plate and replace it.
Make sure to replace the plate with another one exactly the same size.
Step 4 - Removing The Mounting Bracket
Since fireplace dampers have been around for a long time, each one is mounted differently.
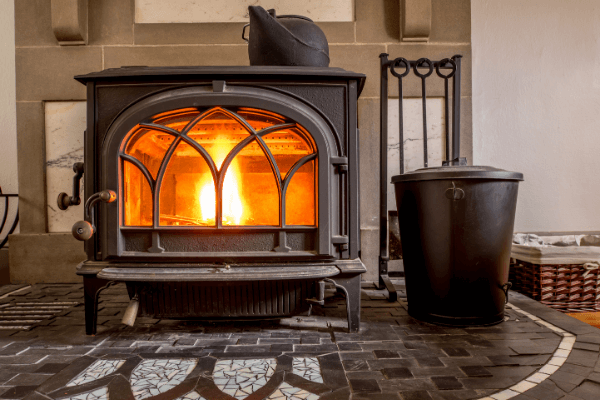
Typically, if you are installing a new wood burning stove inside your existing chimney, you'll want to remove the entire damper assembly and bracket when you install a new chimney liner and attach it to your wood stove.
The brackets are sometimes bolted, welded or mortared into the chimney.
A sawzall with a good metal cutting blade or a small grinder can be used to remove the bracket.
Once the entire damper assembly is removed you can have a nice straight line to hook up your new wood stove.
Top Sealing Chimney Dampers
Top sealing chimney dampers are more efficient than throat dampers because they seal the chimney off at the top preventing animals, debris and moisture from entering your chimney flue.
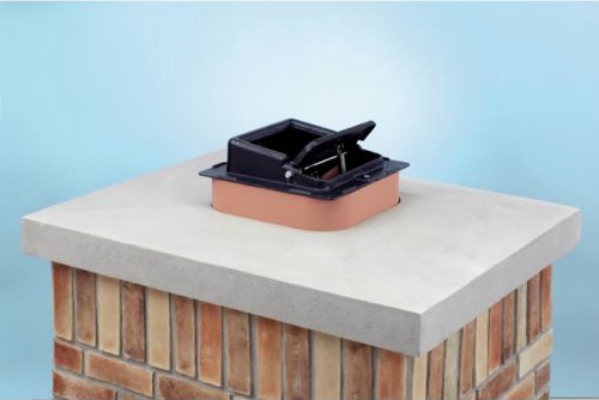
A top sealing damper is often installed after a throat damper has become damaged beyond repair.
Most homeowners can easily install a top mounted damper themselves, saving hundreds of dollars.
Occasionally, a top sealing damper will become stuck or damaged.
Repairing a top sealing chimney damper often requires getting on top of your roof which can be dangerous......especially during the winter. Remove any debris from around the seal and lubricate all moving parts.
Manually move the damper open and closed a few times to loosen any stuck parts and have another person test the damper from inside to ensure it's working properly.
One disadvantage of a top mounted chimney damper is the possibility of it freezing shut during the winter.
Some models have a special mechanism that helps break the ice and dislodge a frozen damper.
Overall - Chimney Damper Repair
Chimney damper repair can often be accomplished by removing any debris from the damper and applying lubrication to the moving parts.
If more serious repairs are needed, removal of the damper may be necessary.
If you're not comfortable doing chimney damper repair yourself, you may want to contact a professional repair service.

About the Author
Obsessed with firewood, Nick is behind over 350+ of Firewood For Life's articles, as well as countless reviews, guides and YouTube videos to help readers like you reduce heating costs and create the perfect fire.
