- Home
- Storing Firewood
- Holz Hausen
How To Build A Holz Hausen
This post may contain affiliate links so I earn a commission.
The Holz Hausen wood pile is a self sustaining stack of wood that supports itself without the need of a wood rack or firewood shed.
Although it's popular in Europe and believed to be invented by the Germans, the United States and other parts of the world are just starting to catch on to this unique yet very effective way to stack wood.
When it comes to stacking firewood, there's basically two different types of people.....those who are very picky about how their stack of firewood looks, and those who are content with just quickly stacking the wood without making it look clean and nice.
My Type A personally loves the look of a neatly stacked wood pile where the logs are uniformly stacked and the pile looks symmetrical.
It's worth a few extra minutes of my time to create a stack of wood that I don't mind seeing everyday when I drive down my driveway.

Also called a beehive wood stack or a round stack, the method is popular because you can store a lot of firewood in a small space.
The stacked roof can repel rain and snow, you can throw scrap pieces of wood in the center, it seasons the firewood really well and most importantly.......it looks AMAZING!
Recently, I was given the opportunity to try out a really neat product made by Cordwood Covers which was developed specifically to cover a Holz Hausen.
I used the Cordwood Cover in this step-by-step article and I was really impressed how easy and fun it was to use.
Since I've never stacked firewood this way before, I wasn't sure what to expect.
My first assumption was the round stack was going to be time consuming to create when compared to more conventional stacking methods.
To my surprise, the process actually went really fast!
In fact, since you just fill the center with loose wood, the time saved by only stacking the outer ring makes it simple.
Plus, I've stacked so much wood over the years in my wood shed and in rows, this new style was fun which made it even more enjoyable.
Building A Holz Hausen
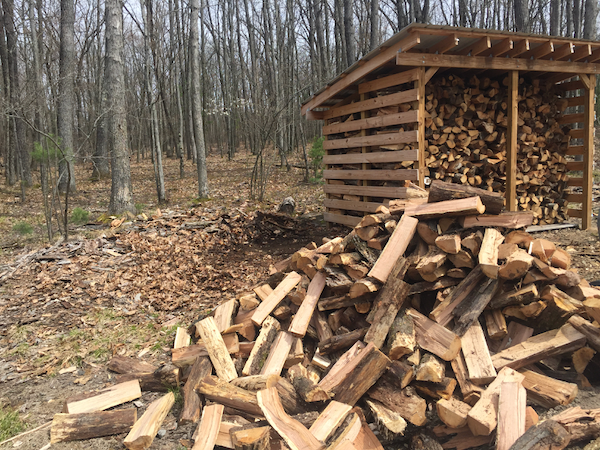
I started off with a pile of split firewood that was ready to be stacked.
I made sure to dump the pile nearby so I didn't have to spend a lot of time walking back and forth.
The first part of the process involves creating a circle on the ground to use as a template.
If you don't have a Cordwood Cover you can use a stick and string to mark out a 6' diameter circle on the ground.
If you take a 3' piece of string and stake it to the ground, you can scribe a 360 degree circle on the ground, creating the 6' diameter circle.
The Cordwood Cover uses a mesh netting on the bottom which is used to secure the cover.
The mesh netting makes a perfect circular template for starting the stack.

Start by choosing a firm, level surface.
My land is pretty sloped so I wasn't able to find a perfectly flat spot next to my wood shed.
An easy remedy for making the stack level is to place larger pieces on the sloped end and thinner pieces on the other side.
This helps even out the first row, which is probably the most important row of the stack.
Choose logs with a least 1 flat side and place them in a circle around the perimeter.

Next, make a second row as show below.
This row is also important because it causes the outside walls to slant inward, which gives the stack its stability.
For the first couple of rows I chose some of my most uniform pieces of wood.
Remember, these first couple of rows will have a big impact on the rest of the structure so take some time and make them nice.
I found it was easy to stack this second row similar to a pie shape with the inside end pointed towards the center of the circle.
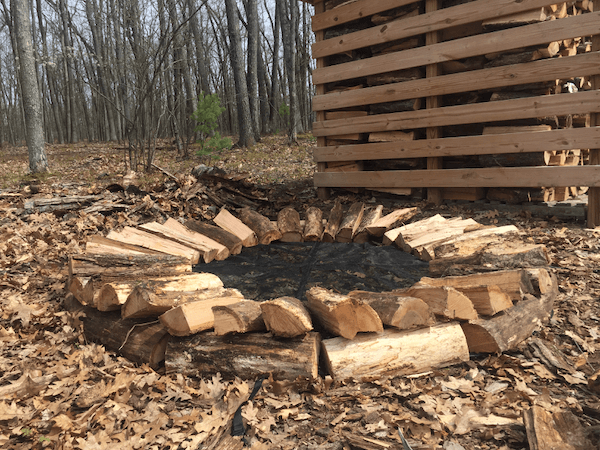
Now you just build up the sides.
It was a little annoying when I built the backside because it required me carry the split wood to the backside and stack it.
It just took longer than the side that was closer to my split woodpile.
An easy solution was to haul several pieces over at one time, then stack the backside instead of walking back and forth.
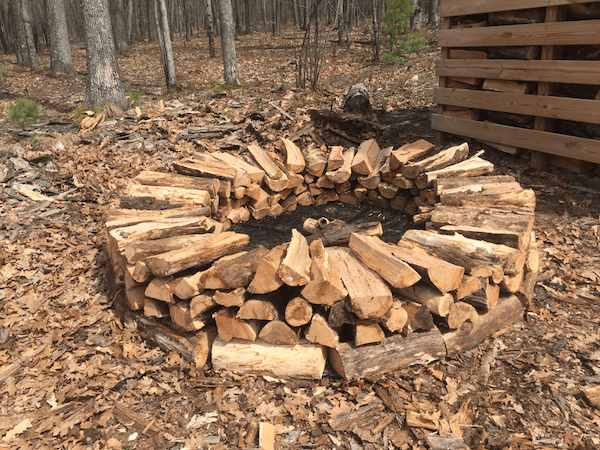
After you get a few rows of wood (about knee high) the stacking starts to go really fast.
Eventually you'll start to loose the inward slant, so to get it back, just place a few perpendicular pieces the same way you did on the first row.
It's important to keep the inward slant of the stack because if you don't, the walls will start to fall outward and the stack will become unstable.

When the stack was about waist high, I started throwing in the oddball pieces that were not straight enough for the outside rows.
This part makes the stacking (or lack of) go really fast.
Fill up the middle until it reaches the outside wall height.
You'll also need to be careful you don't mess up your outside wall when you throw the wood in the middle.
It's not hard, but it's something to be aware of as you're tossing wood into the middle.
Some people vertically stack the wood in the center which in theory will help dry out the center faster.
To me, that would take too much time so I opted to just toss the wood into the middle and see how well it dried out.
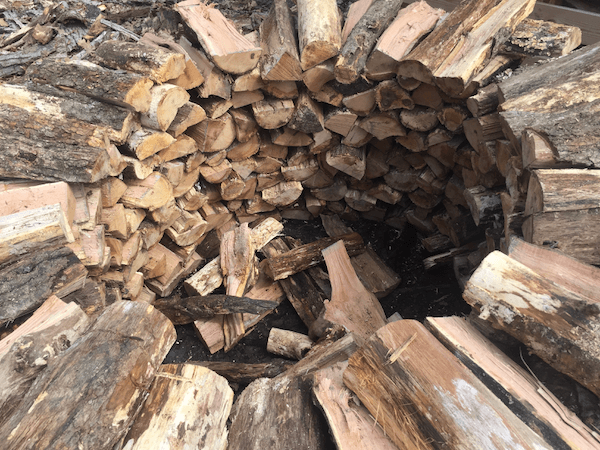
Just continue to build the outside walls.

And fill the center with wood.
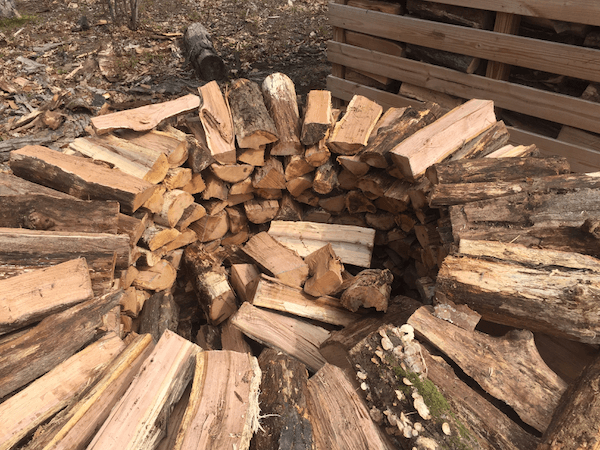
At this point, you just build up the outside wall while keeping it slanted inward, and occasionally filling the middle with wood until the outside wall is roughly 5 feet tall.
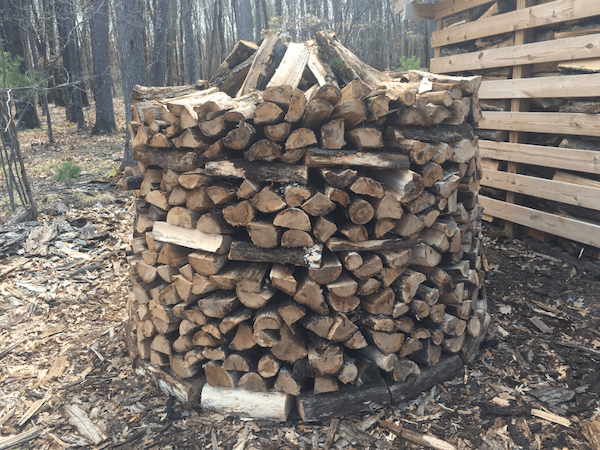
When the outside walls are around 5 feet tall, fill the center above the walls as shown which creates a peak in the middle of the stack.
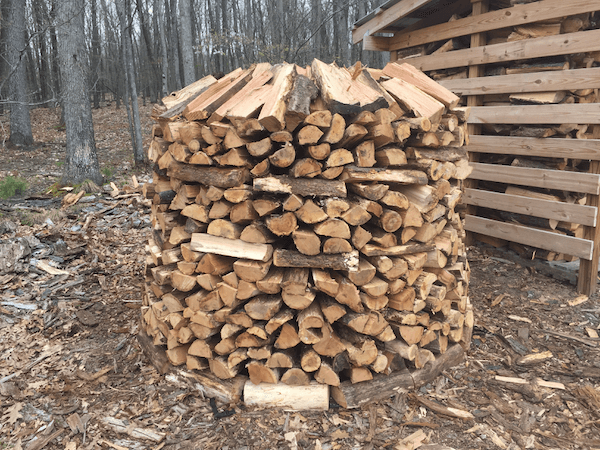
Now you can start placing wood in a shingle like pattern, forming the roof.
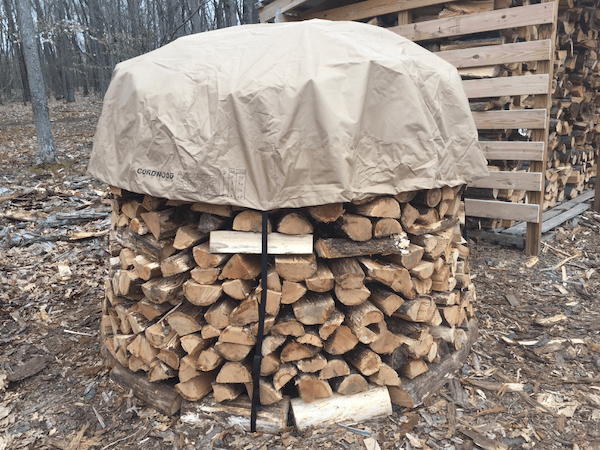
Since I was using the Cordwood Cover my final step was placing the heavy duty canvas cover on the top.
This cover has 4 straps which connect to the nylon mesh circle that was laid down at the beginning of the project.
It's an awesome design because you can quickly remove the cover, take your daily firewood off then easily adjust the straps to accommodate the missing wood.
My finished Holz Hausen held a little under 2 full cords of firewood.
I used a little over 4 truckloads of firewood to construct it.
If you were not using the Cordwood Cover, you could essentially make the base larger and stack the outside walls taller which would hold more firewood.
Building A Holz Hausen - The Benefits
Here are some of the benefits I found by stacking the firewood in a circle or beehive shape:
- It looks amazing
- The pile is very sturdy
- It holds a lot of wood in a small area
- You don't need any support poles or a special storage shed
- You can throw the scraps and crooked pieces in the middle
- It only took me about 2 hours to construct and it was an enjoyable process
Building A Holz Hausen - The Negatives
I have to say, the positives outweigh the negatives for this project but these are a few downfalls of this unique stacking design:
- You need a fairly level spot
- It's a little more tedious in the beginning stages
- You need a decent amount of straight pieces at the start
That's really the only issues I've encountered.
Overall the Holz Hausen is quickly becoming my favorite way to stack firewood after my wood shed has filled up.
Building A Holz Hausen - Overall
If you love the look of nicely stacked firewood, you should definitely try building a holz hausen.
I also recommend the Cordwood Cover because it made the process even easier, plus it gave me a great way to securely attach a cover over the top.
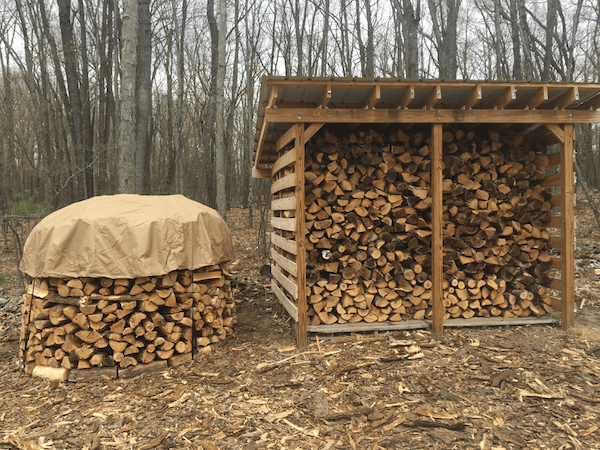
There were a couple of users who were not satisfied with the durability of the cover.
The company quickly sent out a replacement to those who were not satisfied which goes a long way for showcasing their great customer service and standing behind their product.
They're also in the process of improving the covers durability and creating an even stronger material that will be available soon.
Overall I'm quickly becoming a fan of the Holz Hausen.
It's definitely an attention grabber in a positive way due to its unique look and design.

About the Author
Obsessed with firewood, Nick is behind over 350+ of Firewood For Life's articles, as well as countless reviews, guides and YouTube videos to help readers like you reduce heating costs and create the perfect fire.
