- Home
- Build A Fire
- Swedish Fire Torch
Swedish Fire Torch
This post may contain affiliate links so I earn a commission.
Ready to learn more about the Swedish fire torch?
If you have ever gone camping, you probably understand the frustration in attempting to start and maintain a traditional campfire.
A Swedish fire torch offers a simple, easy, and quick way to get the best fire while using the least amount of materials and energy possible.
Here’s what you need to know.
What Is A Swedish Fire Torch?
Also called a Swedish fire log or Canadian candle, this method is an excellent way to start and maintain a fire.
This type of fire was originally created during the Thirty Years War by Swedish soldiers who were dealing with a shortage of firewood.
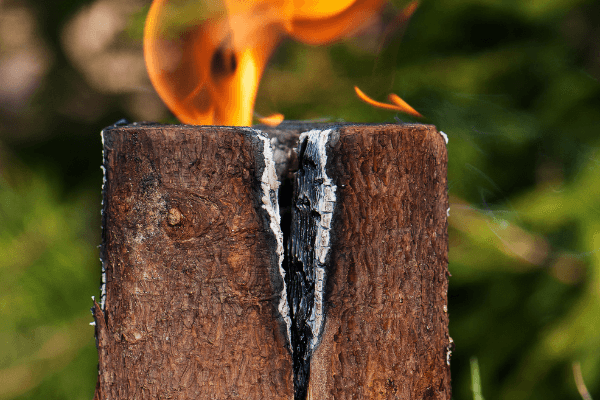
The Swedish fire log was created
by these soldiers so that one single log could last as long as possible.
Today, Swedish fire torches are commonly used by campers and outdoor lovers alike.
They are great when you find yourself in a pinch.
For example, you might not have time to find a lot of firewood or the space to build a full-sized fire.
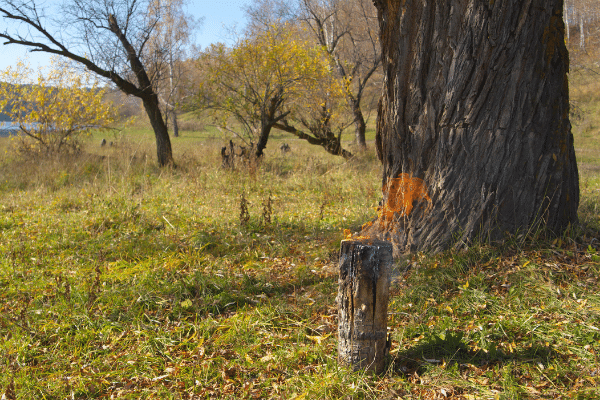
The flat top of the log used in making a fire torch also serves as a wonderful surface for cooking.
How To Make A Swedish Fire Torch
If you’re ready to learn how to make a fire torch, you will need to start by first gathering your materials.
You should have a log (ideally one with a relatively flat top and bottom) along with some kindling.
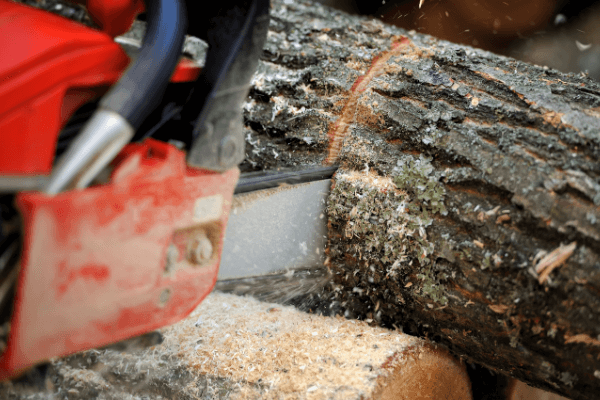
You can use a hatchet, splitting axe, or of course, a chainsaw to cut your logs.
Naturally, you’ll need a lighter or some matches, too - and it’s not a bad idea to put on a pair of gloves while you are working!
Find The Right Log
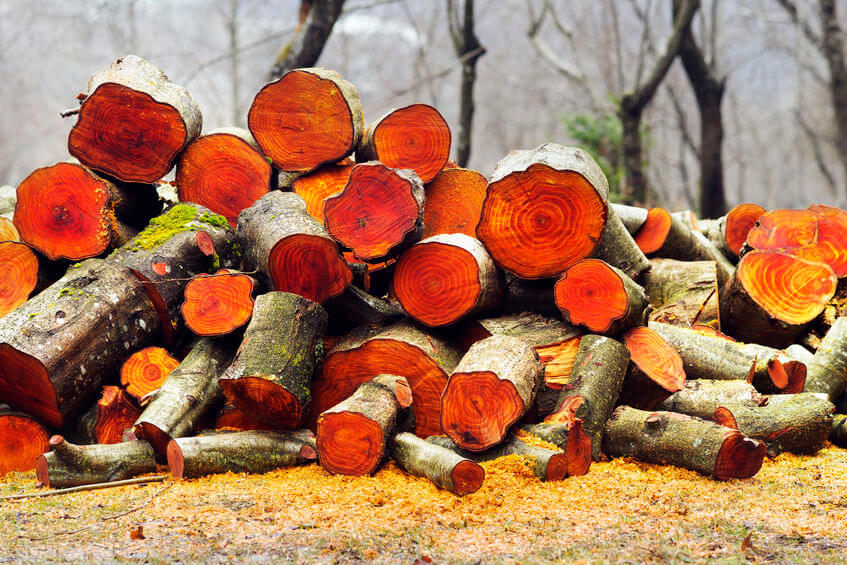
When looking for a log to make into a fire torch, you want to make sure the wood is as dry as possible.
If you are planning to cook on your Swedish fire log, look for a hardwood log rather than a softwood log.
While softwood does let more air through allowing the fire to burn more easily, it will produce more smoke that can get in the way of cooking.
Hardwood allows for a hotter fire that will also burn for a longer period of time.
For a fire that will burn for several hours, look for longer logs.
The larger the size of the log, the longer the fire will last.
You also need to make sure both the top and bottom of the log are flat.
Cut the sides down if needed to ensure they are flat.
Add Cuts To The Log
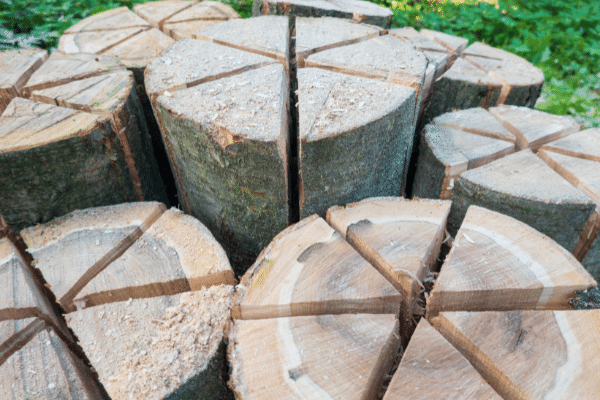
Next, you will need to cut some slits into the top of the log.
Stand your log upright on a flat surface and use your cutting tool to make a slit directly in the middle of the log’s flat top.
You will want to make your cuts about three-quarters of the length of the log.
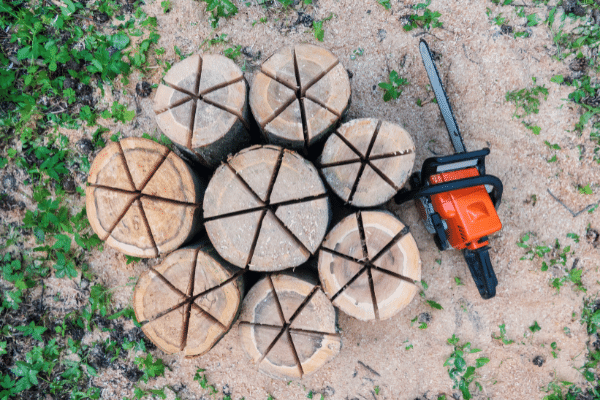
Make your next cut perpendicular to the first
one, creating four right angles in the log’s center.
Depending on the width of your log, you may want to add another cut or two.
Just be sure the top of the log resembles pizza slices when it is finished.
Insert The Fuel
Once you are finished cutting, fill the spaces between the slits with kindling.
You can gather dry leaves, pine needles, small sticks, paper materials, etc. for kindling or you can simply drop in a small amount of kerosene or oil.
Steer clear of gasoline for safety purposes as it is an unpredictable accelerant when you are using it on an open flame.
Light The Fire
After completing the steps above, take your matches or lighter and ignite the kindling or accelerant you placed within the cuts.
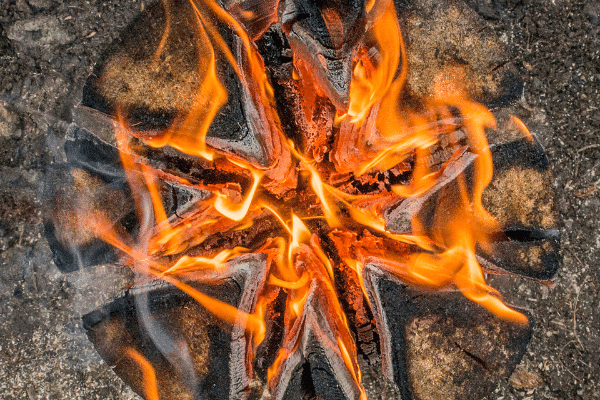
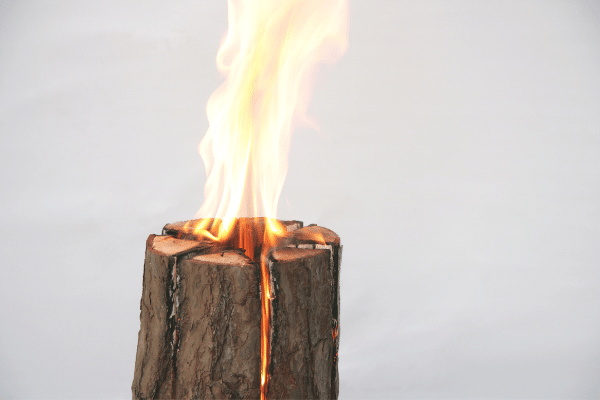
You should be able to see as the top burns and then drops into the center.
Once the flame is in the center, it will climb up the log and eventually creep out the middle.
There is a chance you may have to add more kindling or accelerant to the fire before it becomes stable so always keep an eye on your Swedish log until you feel confident it is self-sufficient.
What Are The Advantages Of A Swedish Fire Log?
Making your own Swedish fire torch has lots of advantages over making a traditional campfire.
We will list and discuss those advantages below.
Practicality
A fire torch only requires one log to make a substantial fire, making it not only a good way to save money but resources, as well.
Traditional campfires take more than five times the amount of wood and need to be fed often.
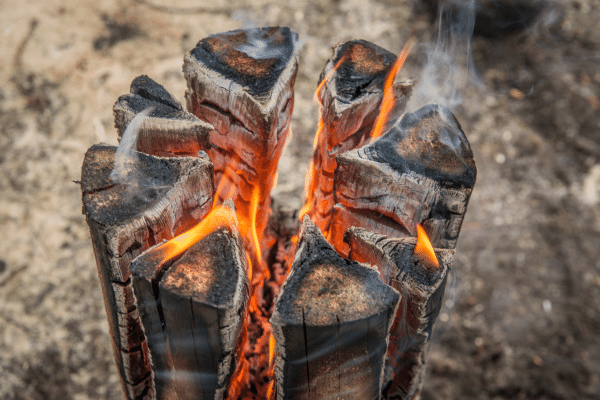
Plus, because the flame is contained within
the log and away from the ground, you can build a fire no matter the condition
of the ground.
If the ground is wet from rain or snow, it is extremely hard to start a traditional fire and to keep it burning.
Easy To Set Up
It only takes a few short steps to create a Swedish log and does not require lots of materials, resources, or tools.
The only step which requires semi-heavy labor is adding the cuts however, using the right tools can help with this.
Manageable
Unlike traditional campfires that must have an eye on them at all times, a Swedish fire torch does not need to be constantly fed by more wood or kindling.
It feeds on itself.
Similarly, the cuts in the wood create a built-in ventilation system ensuring the fire is consistently being oxygenated.
This allows for a fire that burns longer but does not need as much care.
Great For Cooking
Because a Swedish torch requires a flat top and bottom, the top is perfect for cooking.
You can easily place a kettle, pan, or pot atop the log, allowing the flame to heat it.
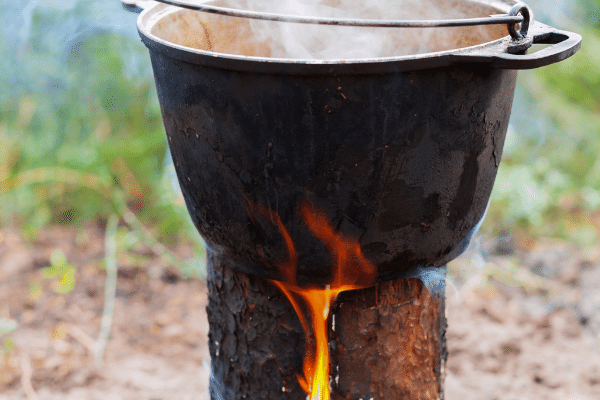
Unlike trying to cook with a traditional fire, which usually requires that the first pieces of wood burn all the way down until more wood is added, you can cook on a Swedish log within 20 minutes of it being lit.
This is because the fire is forced into a small space making it burn much hotter.
What Are The Disadvantages Of A Swedish Fire Torch?
There are not a ton of disadvantages in making and using a Swedish fire torch.
However, there are a few worth mentioning.
For one, you do need to be confident with an axe, hatchet, or chainsaw if following the steps provided above, but you can get away with tying pieces of wood together.
If you are choosing to purchase either pre-split wood or a log, it can become pricey.
Keep in mind though, that you do only need one log to create a Swedish fire log.
It is important that you find an adequately
sized log for this to ensure you are getting maximum use out of that log.
If your log is too short, you will not be able to have a fire that burns for very long.
As is the case with most types of fires, it's also important that your wood be as dry as possible.
This can become difficult if you are searching for a log in an area that was recently wet due to weather.
Swedish Fire Log Variations
There are a few potential variations on the Swedish fire log that you can consider.
If you cannot find the perfect log, try looking for smaller logs or large branches of around similar lengths.
You can also cut them down to be the same size.
Take the pieces of wood and assemble them together to look like one, larger log.
Take a piece of wire, twine, or anything else that can keep them together and secure the pieces.
These smaller pieces of wood
will take the place of one large log with cuts in it as the space between the
logs will allow for natural ventilation.
Similarly, if you are worried about making the cuts in your log too long or too short, you can cut your log lengthwise into strips and tie them back together with wire.
Finally, if the cutting aspect is giving you the most trouble, you can buy pre-split wood and assemble those pieces together to make your own Swedish fire torch without needing to use any cutting tools.
How Long Will A Swedish Fire Torch Burn?
And now the most important question - how long will your fire actually stay lit?
If done correctly, your Swedish fire torch can burn for 2-5 hours.
This, of course, depends on the size of your log and the conditions in which the fire is burning.
For a longer fire, choose a longer log.
Just make sure it is sturdy enough to stand up on its own!
Next time you go camping, try out a Swedish fire torch to make your life easier and your fire hotter - or perhaps you can simply try making one at home!
However you choose to use your fire torch, you will not be disappointed by its ability to burn.

About the Author
Obsessed with firewood, Nick is behind over 350+ of Firewood For Life's articles, as well as countless reviews, guides and YouTube videos to help readers like you reduce heating costs and create the perfect fire.
